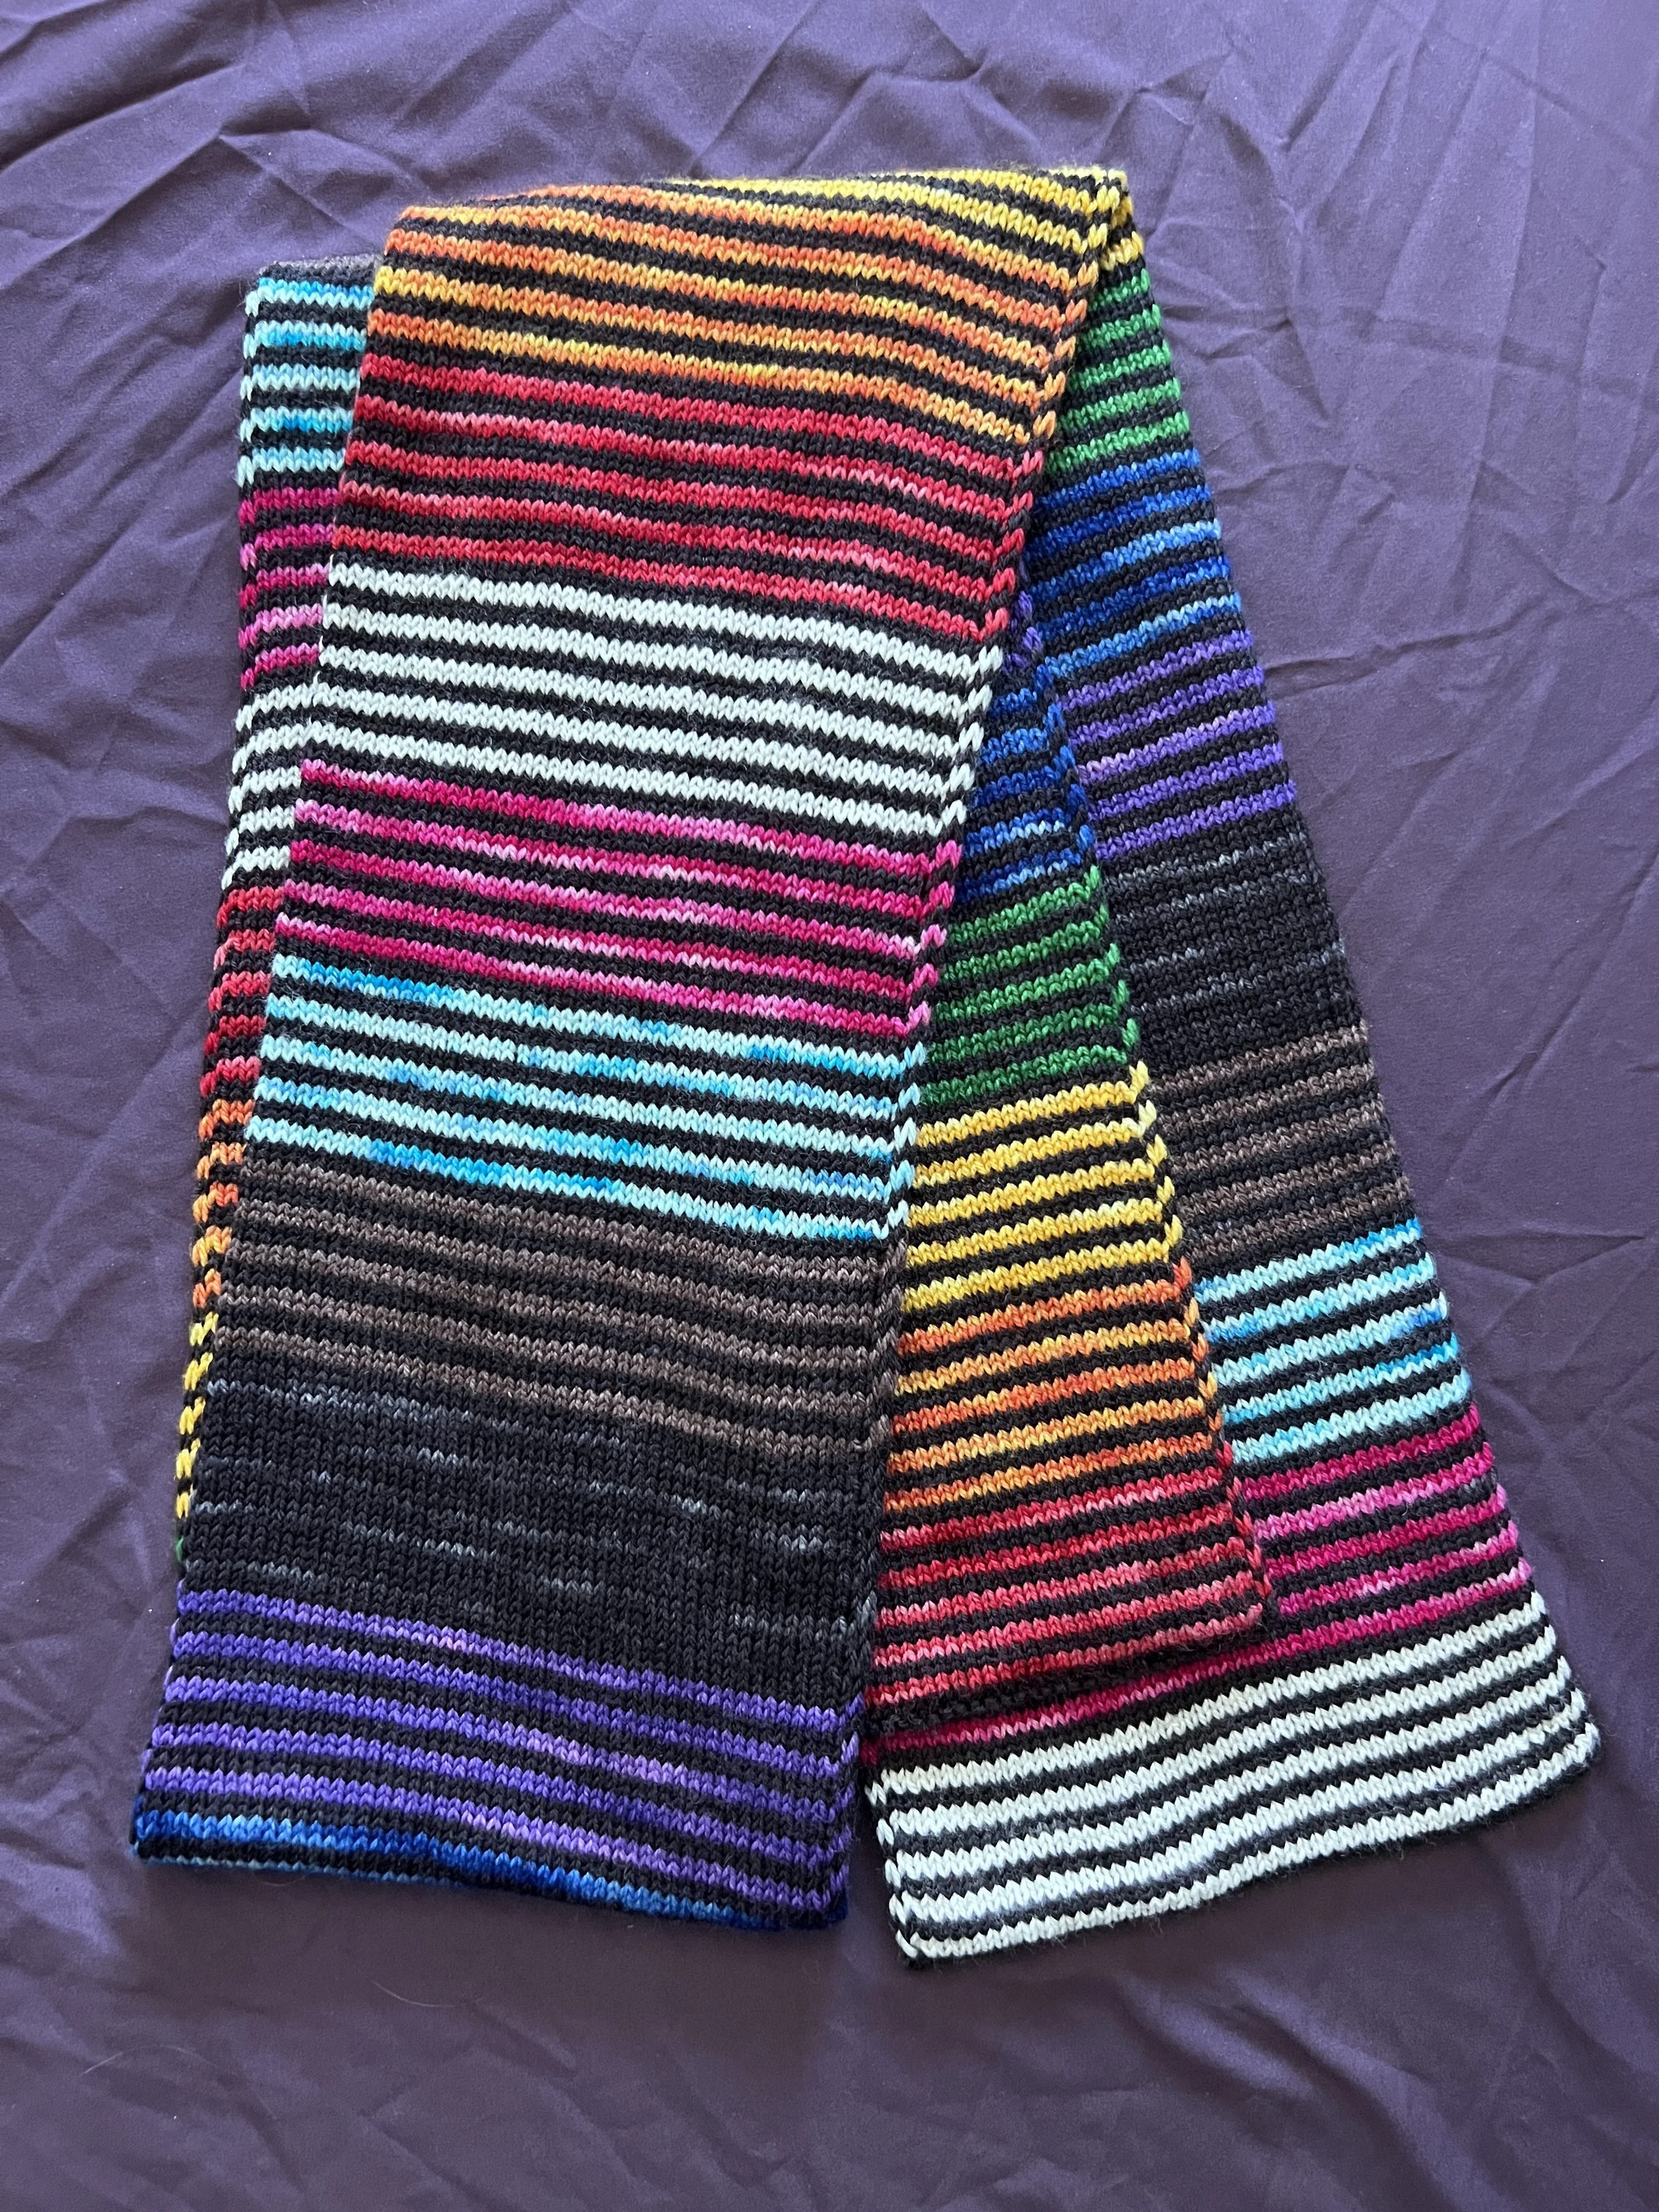
The Ultimate Mindless Knitting
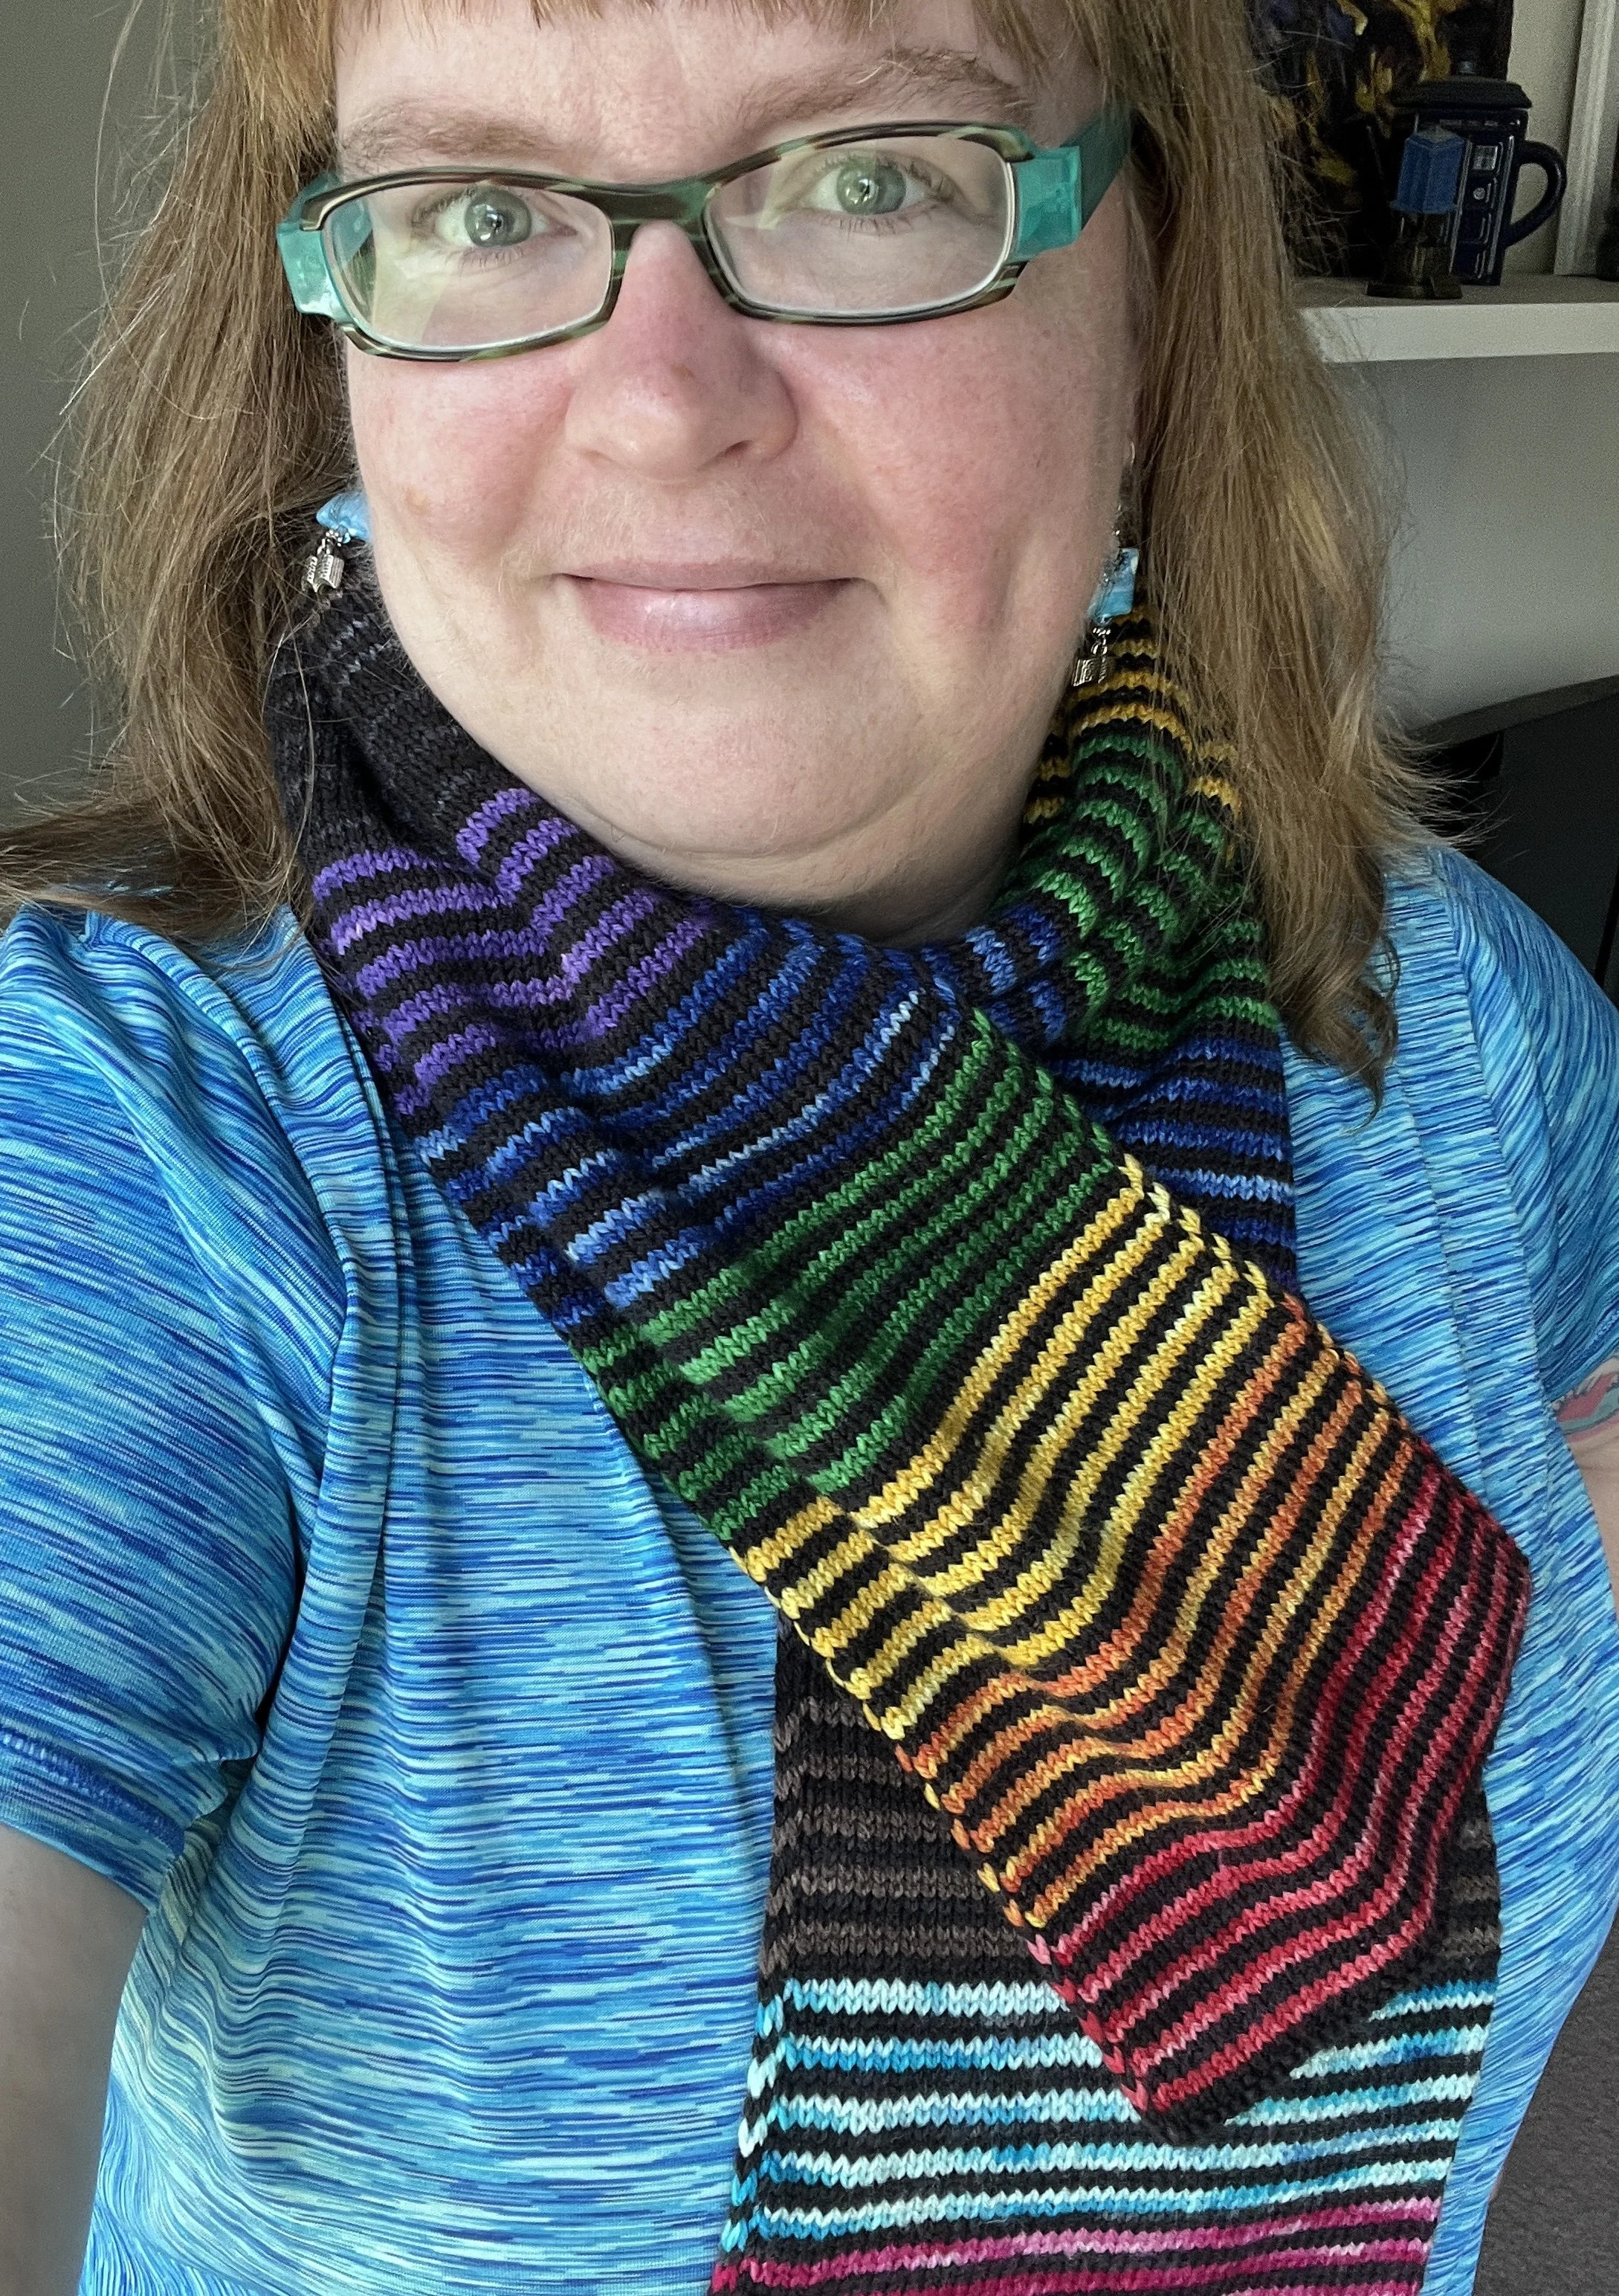
I love easy knitting. Stockinette in the round, flat garter stitch - it’s great for TV watching and stitch night, and also a great chance to play with all of those handdyed skeins that always look so tempting at the yarn shop. This squishy scarf, with a lay-flat edge from Ysolda Teague’s Mae Scarf, is a little fiddly to set up at first, but quickly transitions into literal miles of stockinette in the round. Because you’re knitting a tube, you won’t even have to weave in most of the ends.
Use a miniskein set and a matching solid for the stripes shown here, run through a gradient skein or two, or just enjoy the flow with a variegated or semisolid luxury yarn. The pattern is written for fingering weight, but can easily be adjusted for any weight you like.
Materials
about 1000 yards of fingering weight yarn - yes, break into those fancy skeins you were saving for “something special” or use up leftovers with some creative striping
US 1.5 / 2.5mm needles (DPNs or circulars, depending on your preferred method of knitting in the round - I used DPNS and a long circular to start and end, but transitioned to a 16” circular for the middle piece)
2 stitch markers
Tapestry needle
Instructions
Holding your yarn double, cast on 50 st. If you’re working from a cake, you can pull from the inside and outside of the skein; you’ll be cutting that outside yarn in just a second.
Separate those stitches onto two DNPs or two circulars, alternating needles. You’re basically splitting the 100 stitches you cast on into 50 stitches per side, similar to setting up double knitting.
Using your working yarn (you can cut the outside yarn at this point), knit one round. Magic loop worked best for me here, but DPNs are also a good option.
Set up slip stitch edge
Assuming you now have 100 st on your needles, the slip stitch edge uses stitches 1 and 100 on one side, and stitches 50 and 51 at the halfway point, one stitch from each side of the final piece. Place stitch markers before stitch 50 and stitch 100 to make keeping track of the “not stockinette” stitches easier. You can use removable stitch markers or safety pins here, or just place markers on your next round.
Design decision time: If you want to do two-row stripes, now is a good time to switch colors if you want the slipped stitches to blend into the stripes. If you like the offset look in the pattern pictures, work Round 1 in your starting color before starting your stripes.
Round 1 starts at your first stitch marker, not at your initial first stitch. You may have to undo your last stitch to work it again if that helps you set the repeat up correctly.
Round 1: (k1, yo, knit 49 st), repeat once.
On each half, you’ll be knitting a stitch, creating a yarnover, and then knitting to your middle stitch markers. The yo should essentially mark where the scarf will fold to lay flat.
Round 2: (slip 1, drop yo, slip 1, knit 48 st), repeat once.
Repeat rounds 1 and 2 until your scarf is long enough, or until you almost run out of yarn. Any yarn ends can be knotted and tucked into the tube; I like multiple square knots followed by an overhand knot with both strands to keep everything secure.
If working two-row stripes, end with two rows of your starting color to keep the ends matching.
Close the tube
Slip your stitches onto one needle (I would recommend a circular, not a single DPN), alternating stitches from both sides of the scarf to close the tube.
Use a sewn bindoff over 50 st to close the tube, treating two stitches as one for each step (so you’re binding off over 50 st instead of the 100 st you technically have).
Weave in your last end.
Wash the scarf and lay it flat to dry, aligning the slip stitch edge so it runs along the sides of the scarf.